Three Cute and Easy Nail Arts to Do by Yourself
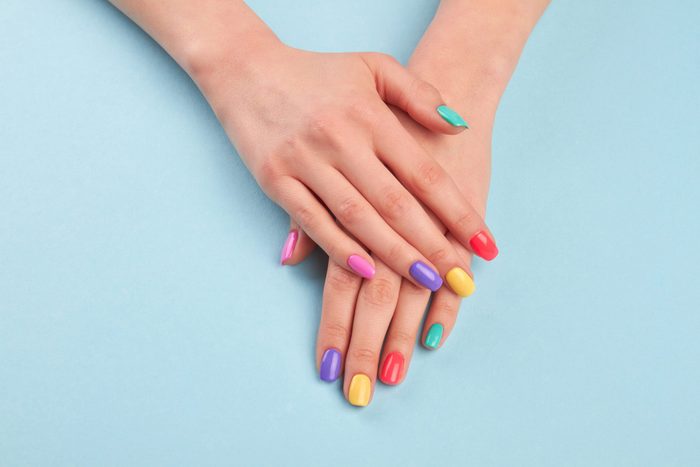
In this Article we are going to try three easy nail art which you can try is by yourself. This designs are suitable for all the occasion like you are going out whit your friends or you have to attend any party. So, lets start with our designs.
Nail Art Design: 1

For this design you need two main things like brown nail polish and nail art brush from a mail kit.
Step 1: First use the bottle brush to get the corner of your nail. It will save your time and it usually works best for minimalist designs.
Step 2: Then Take your nail art brush with little bit of polish because it’s always easier to add more than to take away. Take your time when making little swoosh and try to get it done in one motion.
Step 3: Again use the bottle brush just to get the corner of your nail and to get a straight line.
Step 4: Roll your finger in the opposite direction of the brush swiping, this will help you to make it as smooth and even as possible.
Step 5: Now make a oval and to make it look more perfect use your nail art brush to get the precision and then filling that in.
Step 6: Now make a outline for this nail. So you can follow the nail edge as a guide and don’t be afraid to get some on your skin because you can always clean that up easily. And if you want sharper lines for your nail art use the same cleanup brush with some nail polish remover while the paint is still wet.
Step 7: Now you can go over the design with a second coat to make them all opaque.
Step 8: Last you should apply a thick top coat to give it a perfect professional look.
Tip: Always clean your nail brush between strokes because it’ll help you for a better and more smooth application.
Nail Art Design: 2
For this design we are using pastel colors but you can use whatever colors you have.

Step 1: For this design you can take any colors you want.
Step 2: First go with actual nail brush and create a swirly design. It’s supposed to be random and abstract so make whatever shape you think looks best.
Step 3: Then use a nail art brush to get certain designs that you want close to the edges of your nails. You can use a nail art brush to get cleaner lines.
Step 4: When you end up finishing with shape, one way to get an abstract look is to paint right on top of another and and for that use the actual nail brush.
Step 5: At the last take white polish because it will give a nice touch to do some outlines in the end.
Step 6: At the end do a little cleanup to get the design really crisp and to get the polish off of your skin.
Step 7: Lastly apply thick glossy top coat to get the perfect result.
Nail Art Design: 3

For this design we are going to use gel polish, and for that you also gonna required UV lamp. If you don’t have UV lamp then you can use any nail polish you have. But gel polish give you a professional and long lasting look.
For this design we need white and brown polishes, and these are gel polishes so you have to cure them with a UV lamp that usually takes 30 to 60 seconds. We gonna need base and top coat which will help give your nails polished salon look.
Step 1: First step is apply two layers of base coat and curing for 60 seconds between each one.
Step 2: Now take gel polishes in the shades contour and glow and do your nail art using fine tip nail brush. Now apply deep french tip starting with your thumb.
Step 3: Now take the bottle brush and paint the whole free edge of your nail Now take your nail art brush to get a precise edge, and feel free to adjust the thickness of the fringe to suit your nail length then repeat this for three of your other nails leaving room for one accent nail.
Step 4: Now take the white gel polish and create an abstract shape on your accent nail. You can draw whatever you want but focus on making the lines extra smooth.
Step 5: After carrying the first layer of paint take the brown shade again to get sharper corners of your french to define the “U” shape because it looks classier this way.
Step 6: After all your touch ups apply a layer of top coat.
Step 7: Once that’s all done apply some cuticle oil for the final look.
Conclusion:
This is the unique and easy designs which you can try with whatever color you have. Here I like the second design because of that pastel colors. This colors are very trendy and unique so, it can be used for all the occasion.