DIY French Twist Up-do for the Holiday Season
In this article, I am going to guide you how to make the DIY French Twist with a bump, and also, without a bump. This is really easy to make. At first time, you may not get the perfect French Twist but everything needs practice. The more you practice, you will get the perfect French Twist.
Things you need for this hairstyle:
- Open pins U-pins
- Hair spray
- Comb
- bristle brush
- Bobby pins
DIY French Twist up-do with the bump:

Step-1
For the first step, you need to section your hair off in the front for the moment, and clip those out of the way.
Step-2
Now with the crown area, you need to backcomb each section. Then hairspray each section, just to get a bit of volume. ( If you want a bump)
Step-3
Now, when you’re happy with the volume, just flip your hair over, and it’ll be a little bit crazy, so don’t mind that. Then with a soft bristle brush, you’re going to gently brush over the top of your bump, to make it nice and smooth.
Step-4
When you’ve done with the last step, you then want to grab your section of hair and just gently twist it. And you can play with it, if you want, till you get how you want it. Then you just need to go ahead and pin that in place.
Step-5
Now, you need to move onto your front sections. If your front sections are long, you need to pin those long front section hair back. But if you have shorter front sections, you can leave them down and fix them later. You just need to clip each side over the back of the little bump.
Step-6
In this stage, you can move onto the French Twist. So you need to start off by combing all your hair to one side, just comb it to whatever side you feel comfortable with.
Step-7
Now, you need to place some bobby pins in a line up the back of your head, so that it makes it easier to roll your French Twist, and to keep your hair to one side.
Step-8
Now, onto the French Twist. You just need to grab all your hair, and wrap it around two fingers to create a loop. Then you need to pull that loop up, and twist it at the same time tightly against your head. And then you just need to leave the ends out for a minute, and fan any loose hair up over, to try and hide it a bit.
Step-9
Now for the most important part, we’re going to pin the French Twist. So you want to face the clip away from your French Twist, and then back towards it. Again, Grab a little bit of hair from the French twist, and place it and pin it away from the French twist, and then back towards it to keep it nice and secure.
Step-10
Now you just need to just fix up your twist. So just comb over any hair that you would like, and if you have ends sticking out, or your hair is longer, you could always tuck it into the side of your French twist or into the bottom of your French twist if your hair length is medium.
DIY French Twist up-do without the bump:

Step-1
To make the French Twist without a bump, you just need to wrap all your hair around two fingers, to create a loop. This has the same steps as the previous one only the bump will be missing.
Step-2
Now, Pull it up and twist it at the same time. Then again, you need to make sure that you pin it nice and secure. So place the pin away from your twist, and then back towards your twist to keep it nice and secure.
Step-3
Then you just want to fix up any bits you don’t like. Again, if you have longer hair, you can tuck it into the side to hide it. And you are done with the French twist without a bump.
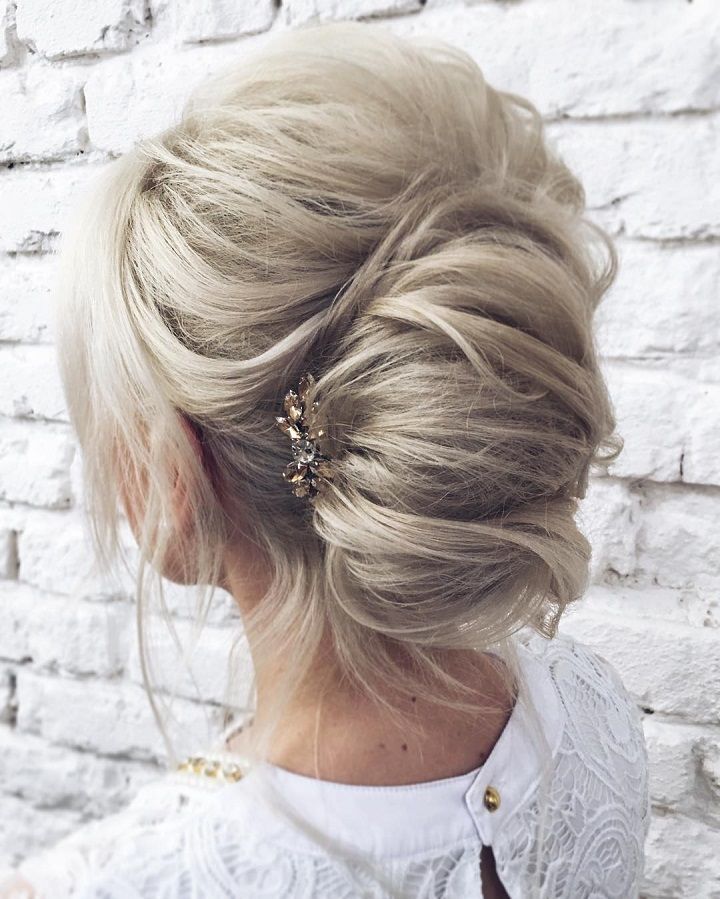
Here are some more DIY French Twist up-do hairstyles for the holiday season: